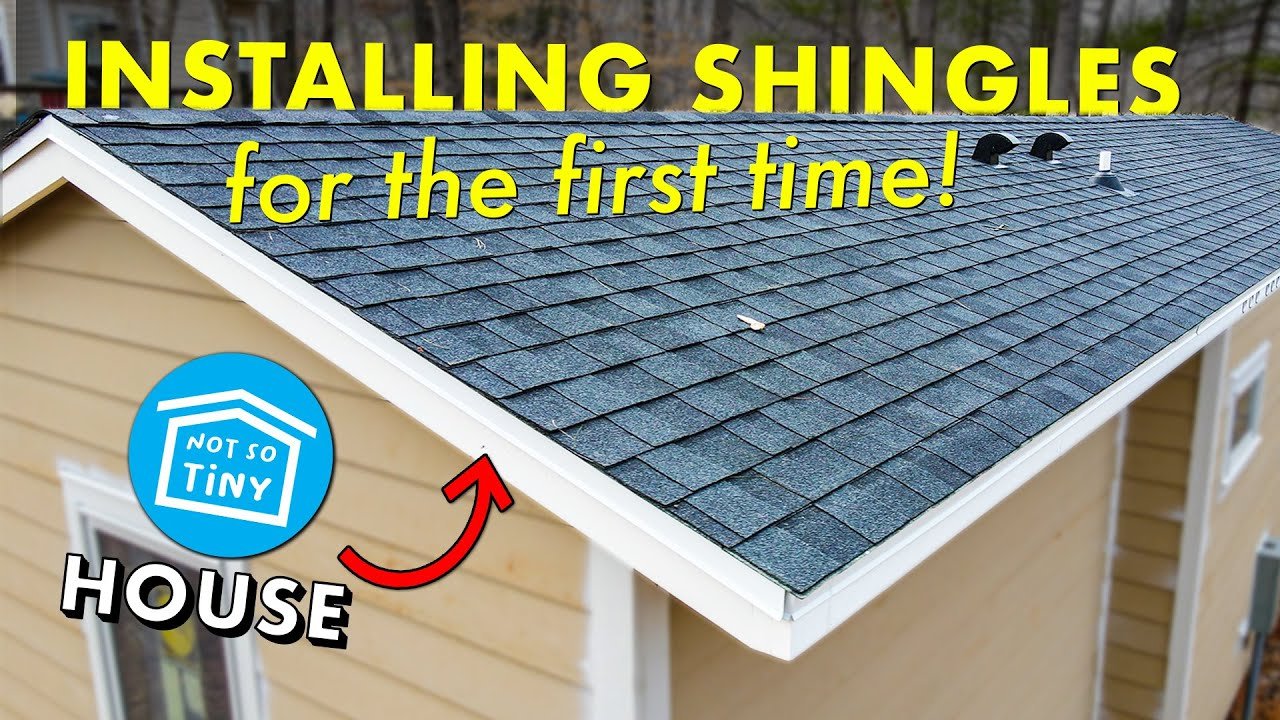

Proper planning is essential for a successful project. Assess roof condition, gather necessary materials, and check the weather forecast. Create a detailed timeline and safety plan before beginning.

First, clear the roof of debris and old shingles. Ensure the surface is clean, dry, and smooth. Check for damaged areas and repair them. Finally, install underlayment for added protection.

Collect essential tools like a hammer, roofing nails, and utility knife. Gather materials including asphalt shingles, underlayment, and roofing cement. Ensure all items are easily accessible to streamline the installation process.

The installation starts with aligning the shingles correctly. Following manufacturer’s guidelines is essential. Overlapping each row ensures proper water runoff. Maintaining a consistent pattern provides a uniform appearance and durability.
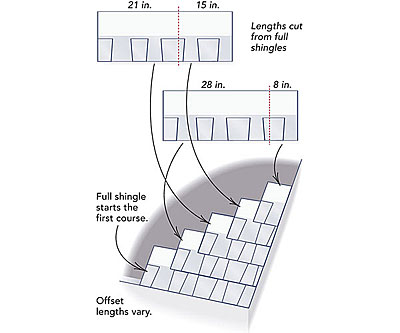
The starter course is crucial. It provides the foundation for the entire roof. Align it with the eaves’ edge. Use roofing nails to secure it in place.

Nail placement is key. Position nails near the adhesive strip. Use four nails per shingle, ensuring each is flush and secure. Avoid overdriving or underdriving nails. Proper nailing prevents wind damage.

When cutting shingles, precise measurements are crucial. Use a utility knife for clean cuts. Fit shingles tightly around chimneys and vents to ensure a waterproof seal. Proper fitting prevents leaks.
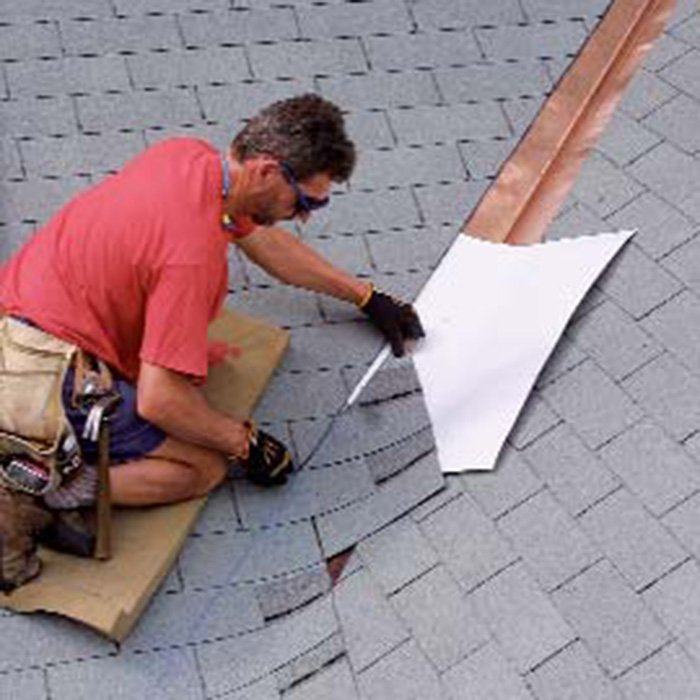
Accurate measurements are vital for a snug fit. A utility knife makes clean cuts. Shingles should be trimmed carefully to avoid wastage and ensure edges align perfectly. This prevents potential leaks.
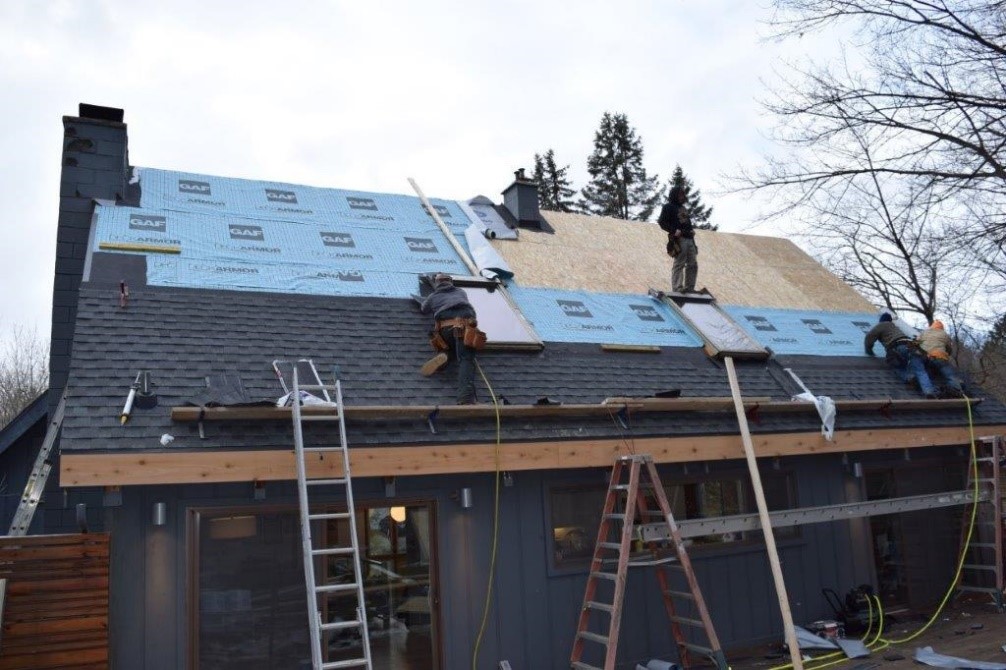
Homeowners may encounter obstacles like vents and chimneys. Shingles should be trimmed precisely to fit snugly around these areas. This ensures a watertight seal and prevents leaks.

For optimal durability, applying roofing cement and sealant is crucial. This step ensures shingles remain secure and water-resistant. It helps to prevent leaks and enhances roof longevity.
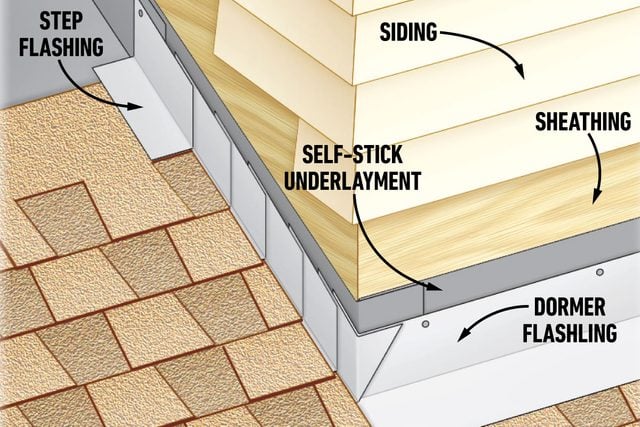
Using a trowel, apply roofing cement under shingle edges. Then, seal exposed nails with the same cement. Use a caulking gun to apply sealant to the edges for extra protection.
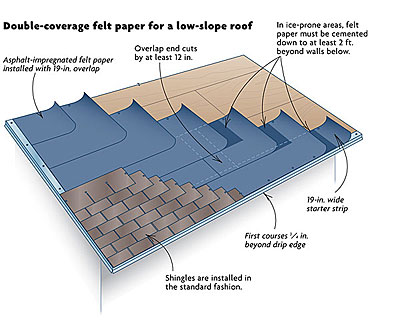
Nail each shingle in place, ensuring they are properly aligned. Use four to six nails per shingle, placing them below the sealant strip. This helps secure shingles against strong winds.
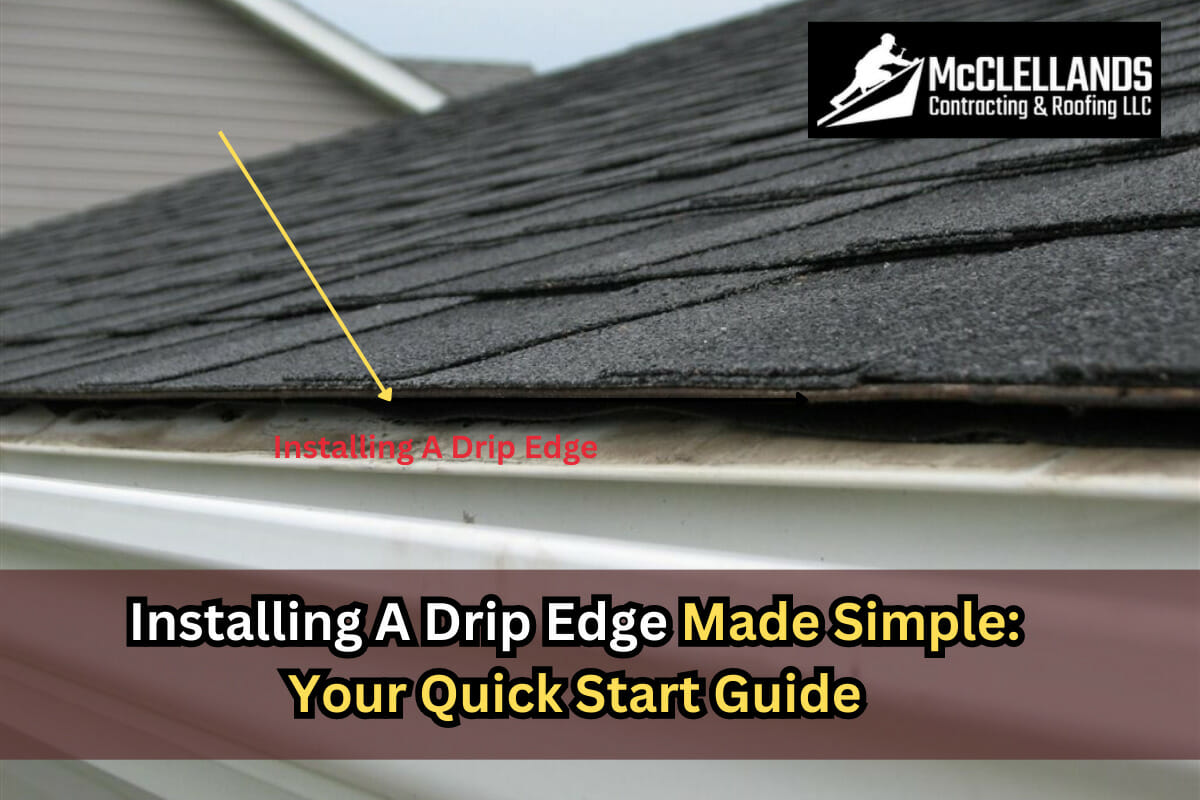
After laying the shingles, one must add ridge caps for a finished look. Next, inspect the roof for any missed spots or misaligned shingles to ensure durability and protection.

Adding ridge caps is crucial for sealing the roof’s peak. This step prevents water infiltration and enhances aesthetic appeal. Lay ridge caps overlapping each other and secure them firmly.
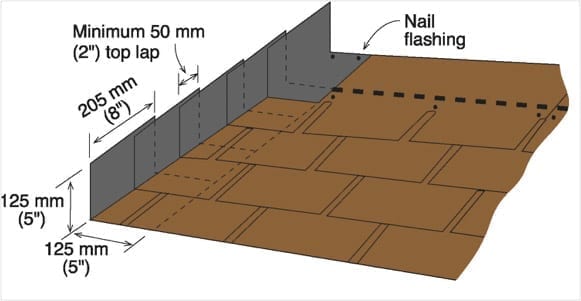
Regular inspections ensure shingles are in good condition. Address any damage promptly. Clean gutters to avoid water buildup. Check for loose shingles and seal any exposed nails to prevent leaks.

DIY asphalt shingle installation saves money and provides a sense of accomplishment. Following expert tips ensures a durable, professional-looking roof. Regular maintenance extends the lifespan of the shingles.

DIY asphalt shingle installation reduces labor costs significantly. It also provides homeowners control over the quality and pace of work, and adds a personal touch to the home.

Inadequate roof preparation leads to issues. Failing to align shingles correctly causes leaks. Skipping underlayment weakens protection. Improper nailing results in loose shingles. Ignoring manufacturer instructions compromises durability.


